
AI Resize Image is an online image editing tool that lets you crop, expand, and scale images — all in one editor. Free tools require no sign-up, while AI-powered features use credits. This guide walks you through every step from uploading your image to downloading the final result.
Step 1: Upload Your Image
Open the AI Resize Image editor. The canvas shows an Upload Image button in the center of the screen. You can also use the Upload Image button in the left sidebar at any time.
- Click Upload Image to open a file picker and choose an image from your device.
- Supported formats: JPG, PNG, and WebP, up to 20 MB per file.
- No account is needed for free resizing — you can start immediately.
Once your image is uploaded, it appears on the editor canvas.
Step 2: Choose a Mode
AI Resize Image offers three editing modes. Select the one that matches your goal from the left sidebar:
| Mode | What It Does |
|---|---|
| Crop | Trims the image to a new size or aspect ratio. Content outside the crop frame is removed. |
| Expand | Keeps your entire original image and fills the surrounding empty canvas area. Nothing is cut off. |
| Scale | Resizes the whole image proportionally — the composition and aspect ratio stay exactly the same. |
Step 3: Adjust Settings
Each mode has its own set of controls. Here's what you can configure:
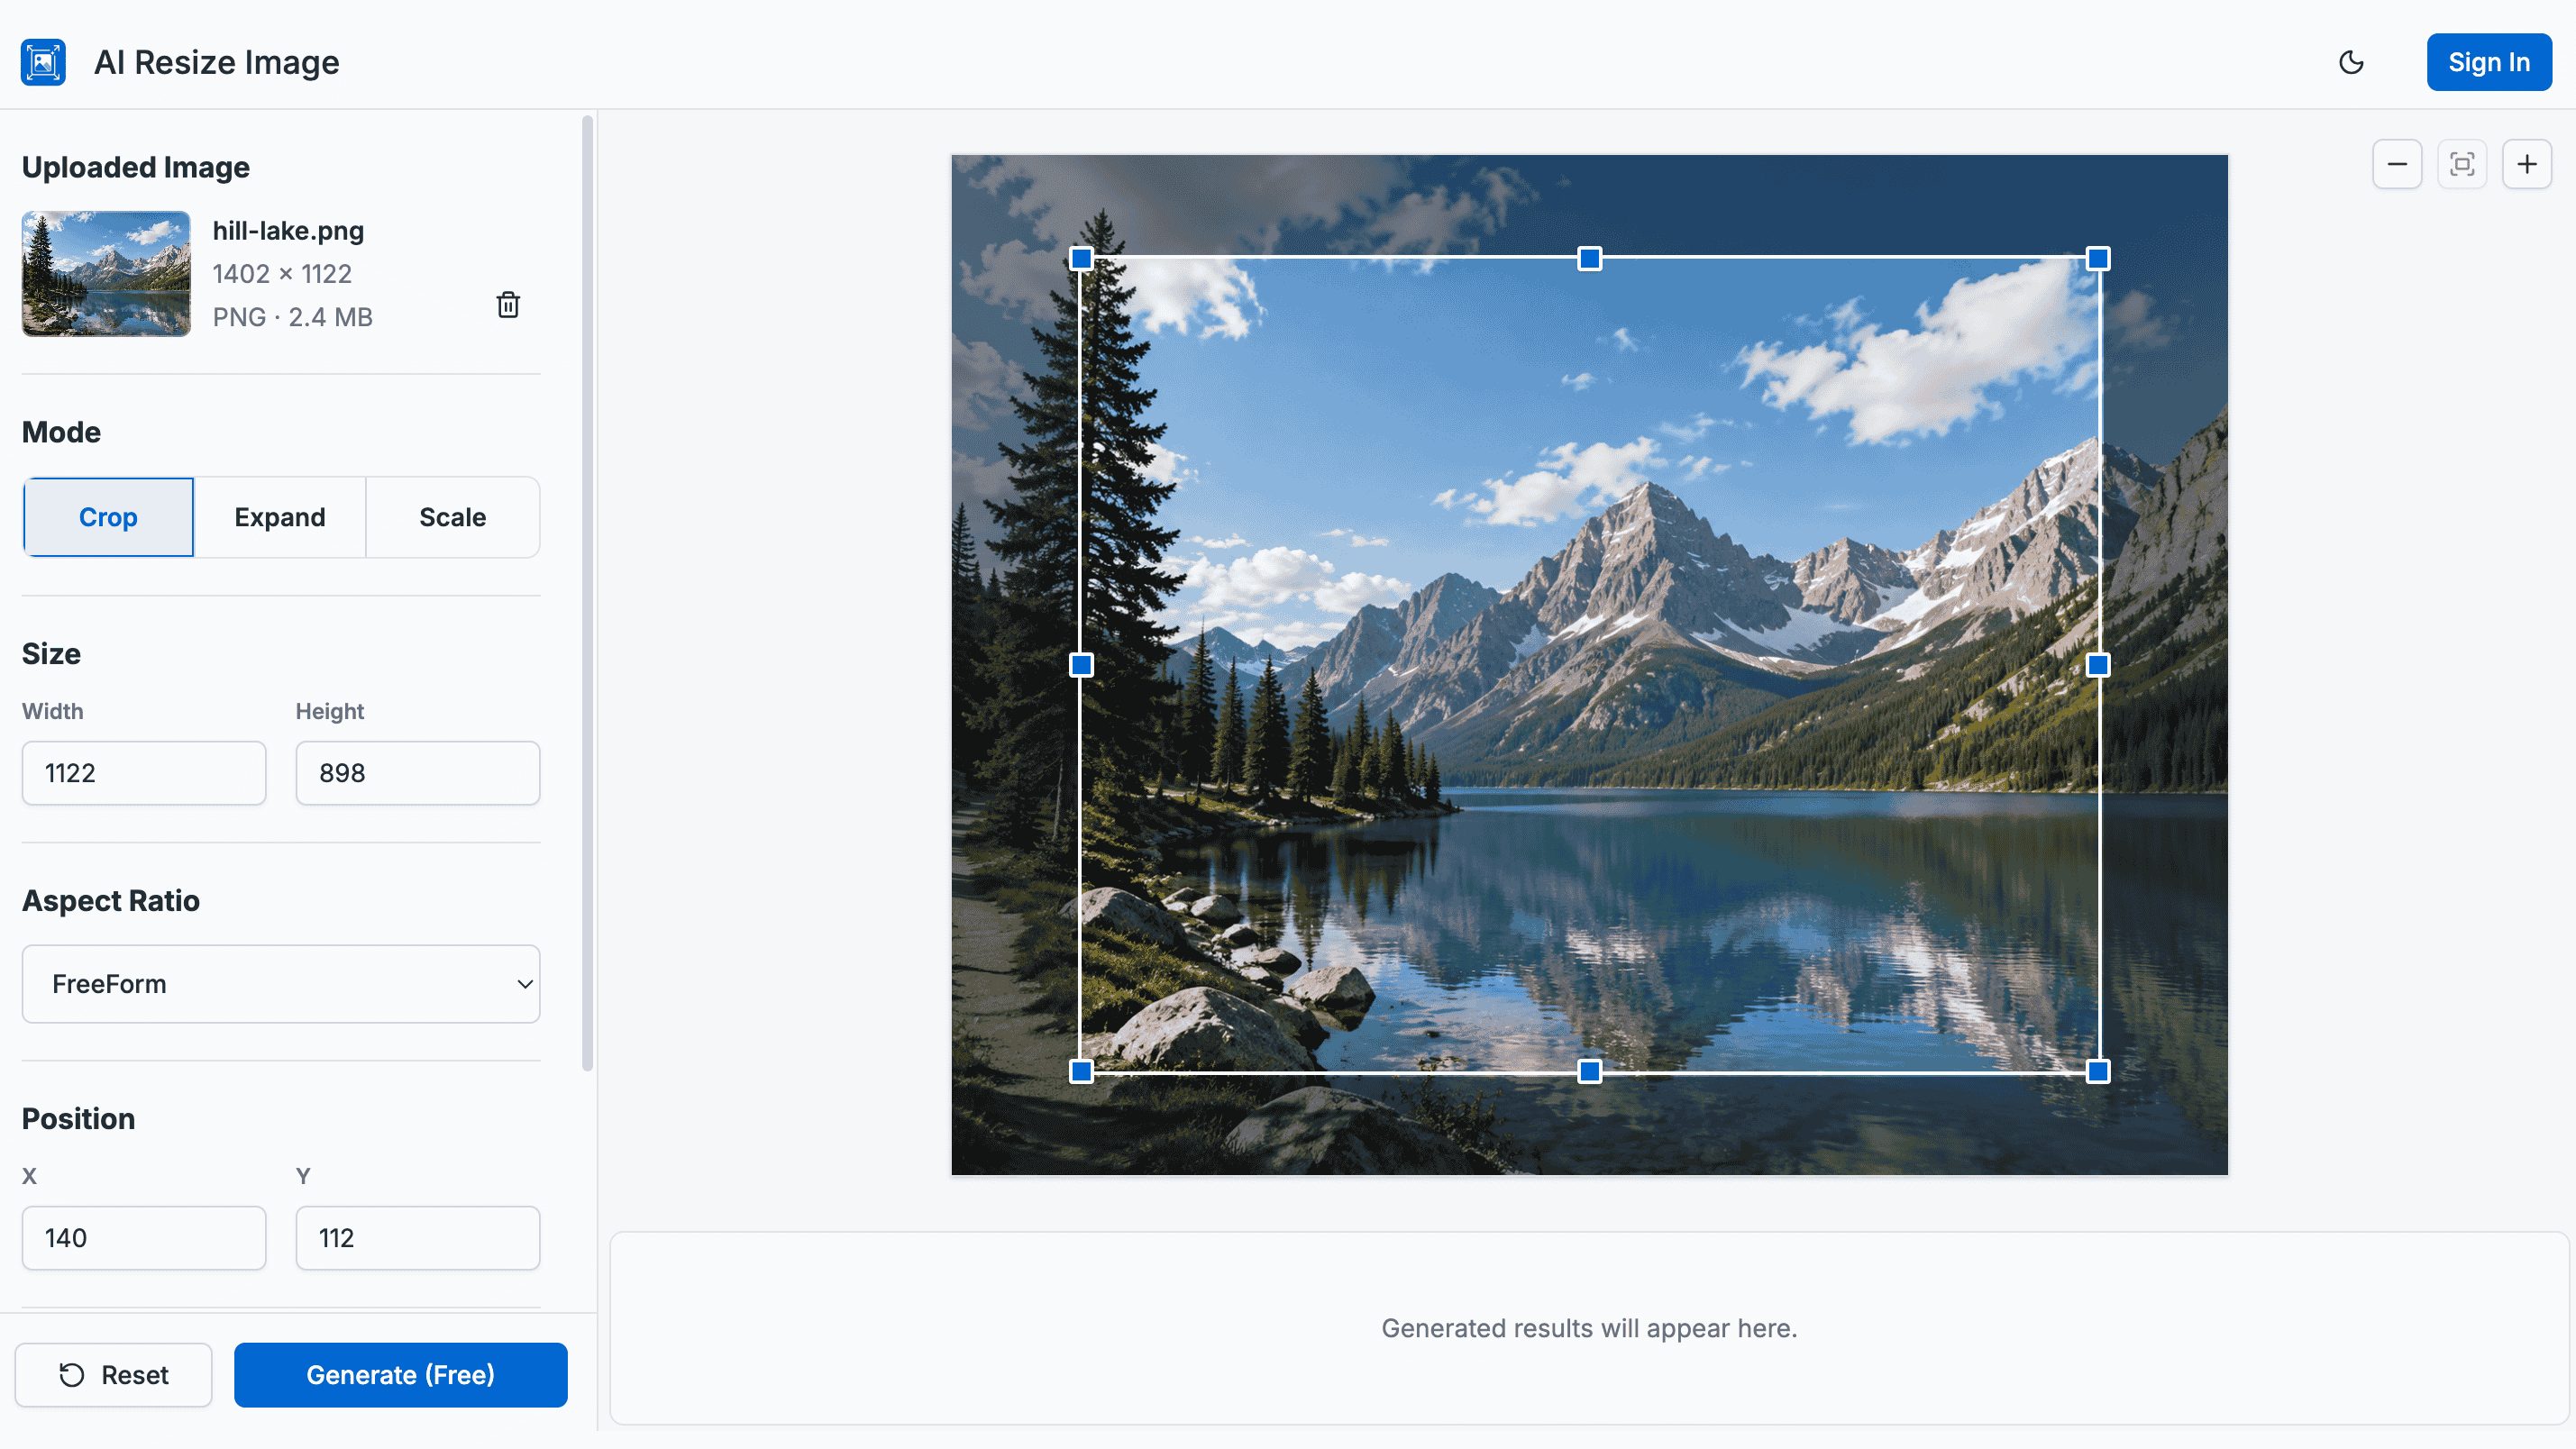
Crop Mode
- Size — Set a custom width and height in pixels.
- Aspect Ratio — Choose a preset ratio (1:1, 4:3, 16:9, etc.), use the original ratio, or enter a custom ratio.
- Position — Fine-tune where the crop frame sits by adjusting the X and Y coordinates, or drag the crop frame directly on the canvas.
The crop frame and the sidebar values stay in sync — dragging the frame on the canvas updates the numbers, and typing new numbers moves the frame.
Expand Mode
- Size — Set the target canvas dimensions you want to expand into.
- Aspect Ratio — Choose a preset or enter a custom ratio for the target canvas.
- Image Position — Drag your original image within the target canvas to place it exactly where you want. The original image cannot be cropped or moved outside the canvas boundary.
- Fill Mode — Choose how the empty area around your image is filled:
- Solid Color (Free) — Fill with a solid color of your choice (default: white).
- Transparent (Free) — Fill with a transparent background (PNG or WebP output required).
- AI Expand (2 credits) — Use AI to generate natural-looking content that extends your image seamlessly.
Scale Mode
- Width / Height — Enter a new output size. The other dimension updates automatically to preserve the original aspect ratio.
- AI Enhance (2 credits, optional) — Improves image clarity without changing the image.
Tip: The canvas always reflects your current settings. Use the Zoom In / Zoom Out / Fit to Screen buttons in the top-right corner of the canvas to get a better view.
Step 4: Set the Output Format
At the bottom of the left sidebar, select your desired output format:
- JPG — Best for photos; uses a white background for transparent areas.
- PNG — Supports transparency; required for Transparent fill mode.
- WebP — Modern format with good compression; also supports transparency.
The format defaults to your original image's format. If you choose Transparent fill mode, the editor will automatically switch to PNG or WebP.
Step 5: Generate
At the bottom of the sidebar, you'll find the Generate button. Before clicking it, check the label:
Generate (Free)— This operation runs entirely in your browser. No credits are charged.Generate (2 credits)(or another number) — This operation uses AI and will deduct credits from your account. You must be signed in.
If you're not signed in and click an AI Generate option, a sign-in prompt will appear. No image is uploaded and no credits are charged until you sign in and confirm.
If your credits are insufficient, you'll see a prompt with a link to purchase more credits or subscribe.
Click Generate to start processing. Results appear in the Result Area at the bottom of the screen.
Step 6: View and Download
Result Area
Generated images appear as thumbnails in a filmstrip along the bottom of the editor, ordered from oldest to newest. New results scroll into view automatically.
Click any thumbnail to open a full-screen preview.
Result Preview
The preview shows your image at full size with details like:
[1/3] AI Expand · PNG · 1920 × 1080 · 1.4 MB
From the preview toolbar, you can:
- Prev / Next — Browse through all your generated results.
- Download — Save the image to your device. The filename includes the mode and dimensions (e.g.,
expand-1920x1080.png). - Remove — Delete this result from the session.
- Close — Return to the editor.
Managing Results
- Click the × on any thumbnail to remove that result.
- Click the Clear Results icon to remove all results at once (a confirmation prompt will appear).
- Results only persist for the current editing session. If you need to keep them, download before closing the tab.
Step 7: Keep Editing
After closing the preview, your original image, current mode, and all settings remain exactly as you left them. You can:
- Adjust settings and generate again.
- Switch to a different mode from the sidebar.
- Upload a new image using the Upload Image button in the sidebar (this replaces the current image but keeps your results).
- Click Reset to restore the current mode's parameters to their defaults without losing your image or results.
Free vs. Credits
| Feature | Cost |
|---|---|
| Crop | Free |
| Expand with Solid Color fill | Free |
| Expand with Transparent fill | Free |
| Scale (without AI Enhance) | Free |
| AI Expand | 2 credits |
| AI Enhance | 2 credits |
Credits are purchased separately or included in a Monthly plan. The editor always shows the cost before you generate, so there are no surprises.
Tips & Troubleshooting
Here are some common issues you might encounter while using AI Resize Image.
I need a transparent background. Use Expand mode with Transparent fill, or export any image as PNG or WebP. JPG does not support transparency.
My result looks blurry after upscaling. Try enabling AI Enhance in Scale mode. It uses AI to improve clarity when enlarging images.
I accidentally closed the tab. Free local results are only kept for the current session. AI task results (AI Expand and AI Enhance) can be found in your account's Activity page.
Start editing
Ready to resize your own image? Open the AI Resize Image editor .